Users often build up large collections of filters. Prior to version 4.2.7 these could only be managed by the user who created them. This could lead to administration problems when users left, as their shared filters would still be available to other users. The Filter Manager utility has been created to address this problem. It allows user administrators to view, delete and edit filters belonging to all users. As a convenience it also allows the management of base filters (filters which a user can’t remove) to be managed for groups and roles. It was already possible to do this from the the User-, Group- and Role-Manager utilities but adding this to the Filter Manager allows all filters to be managed from a single place.
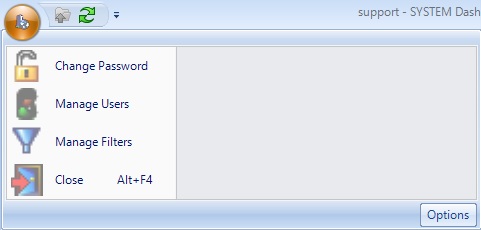
The Filter Manager is available from the Office menu of the system dashboard screen.
It has three tabs:
- Manage Users
- Manage Groups
- Manage Roles
Group and Role management are solely concerned with base filters, since they cannot directly own filters. To edit the filters for any item, (user, group or role) simply double-click on it within the grid. This will display the appropriate filter administration screen. I will explain in detail the operation of user filter administration. Management of groups and roles is simpler, as they only contain base filters.
User-Filter Management
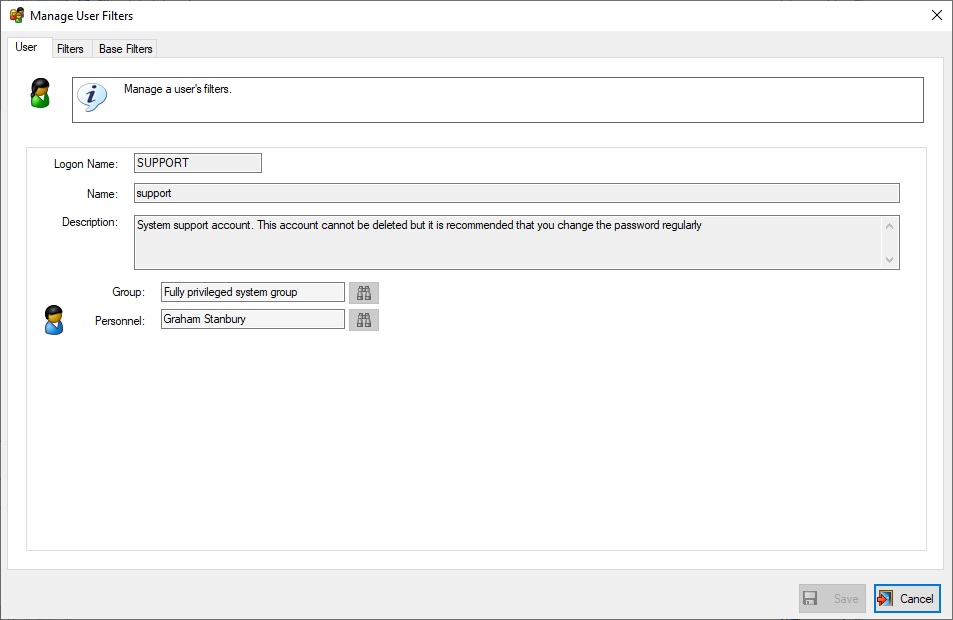
Double-clicking on a user in the Manage Users tab will display the user filter administration screen. This has three tabs.
User Details
The User Details tab contains basic information about the user. All of this information is read-only.
Filters
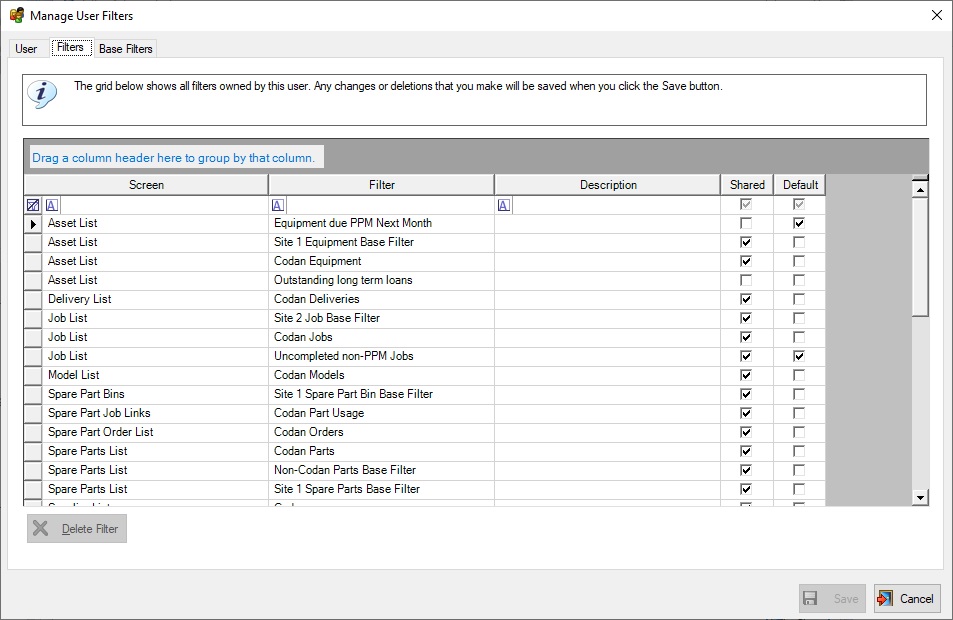
The Filters tab shows every filter owned by this user.
The basic filter attributes such as name, description and whether or not they are shared or the default filter (for the particular screen) can all be edited by typing directly within the grid. You may delete one or more filters by selecting then in the grid and then either pressing the Delete key or clicking the Delete Filter button. If you make any changes or deletions then you must click the Save button in order for the changes to take effect.
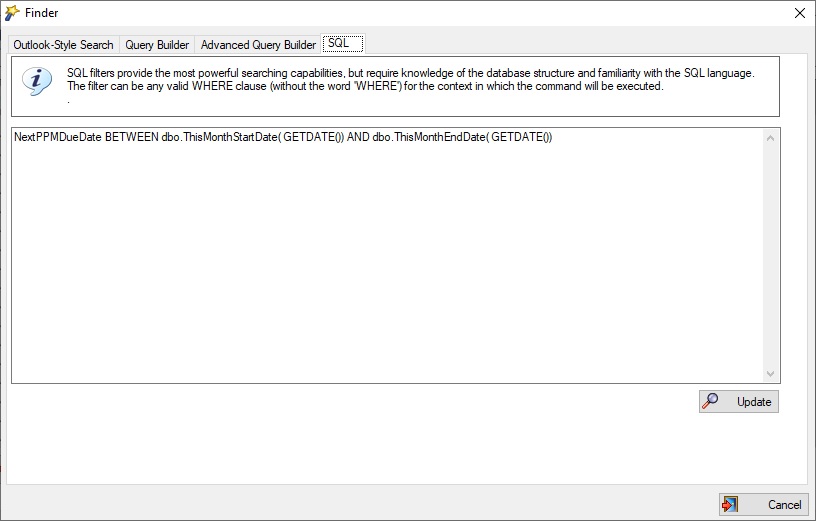
If you would like to view or edit the filter itself, then double-click on it within this grid. This will show the filter in a modified version of the Filter Wizard.
The only differences between this and the standard Filter Wizard are:
- There is no Load/Save tab
- The Apply button has been renamed “Update”
Use the Wizard as usual to modify the filter, then click Update to close the screen.
Base Filters
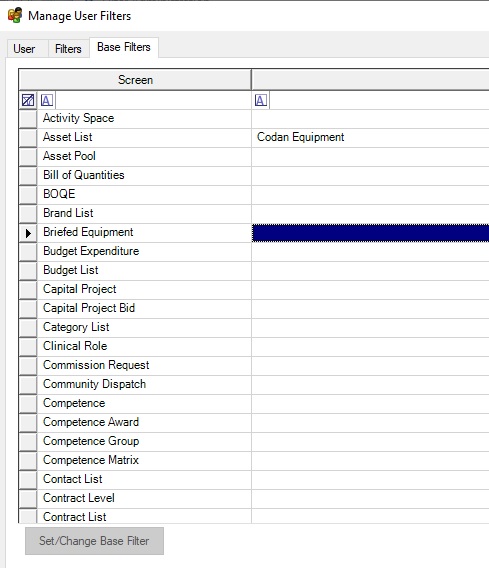
If you are unsure what base filters are then check out this blog article from 2012. Essentially, a base filter is a filter that a user cannot remove. Administrators can set a base filter for every e-Quip screen for users, groups and roles. This tab shows a list of all screens, along with the base filter for each.
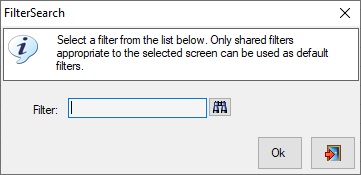
Here we can see that only one screen, the Asset List, has a base filter set. To change or remove the filter for this screen, just double-click on the row. This will show a filter lookup.
To set a base filter, select the appropriate filter in this lookup and then click Ok. To remove a base filter leave the lookup empty and click Ok.
Group- and Role-Filter Management
Since groups and roles cannot own filters their management is much simpler and just consists of base filter management. The group and role filter administration screens are identical to that for users except they only have two tabs:
- Details
- Base Filters
This feature will be available in the next e-Quip release which will probably be rolled out in the spring of 2020.
As usual, all feedback is welcome.
