The External Data Wizard
Starting from the next version we will be adding the ability to import data into E-Quip from Microsoft Excel spreadsheets. The wizard is extremely easy to use and guides you through the entire process.
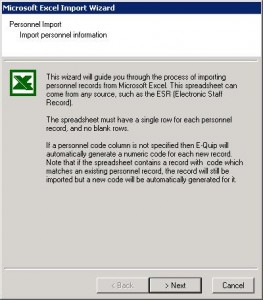
Step 1: Run the Wizard
From either the Office or Context menu, choose Get External Data. This will display the wizard
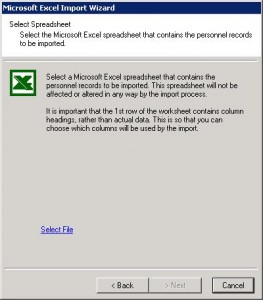
Step 2: Choose a Spreadsheet to Import
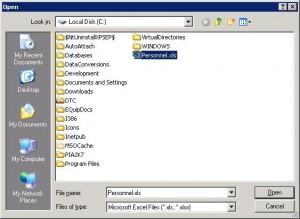
Click Next, then click on the Select File link to select the spreadsheet that you want to import.
The file is selected using a standard Windows file selection dialog box.
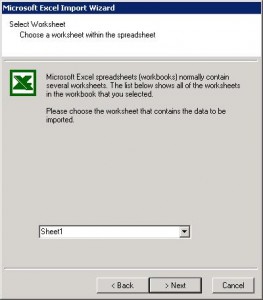
Step 3: Choose the Worksheet
Once you have selected the spreadsheet, click Next. You must then choose the worksheet in the spreadsheet which contains the data to be imported.
Step 4: Map the Spreadsheet Columns
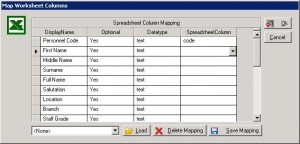
The wizard allows you to choose which of the columns in your spreadsheet should be imported into particular E-Quip fields. For example, in a personnel import you may have a column called “Payroll No” which you wish to be imported into the “Employee No” field.
If you frequently import data from a spreadsheet formatted in a particular way you can save column mappings for future use.
Click Next, to display the column mapping screen. This is very simple to use: the column on the left shows you the E-Quip column that the data will be imported into, and in the right-hand column you select the column in the spreadsheet that the data is to come from.
Step 5: Review the Data to be Imported
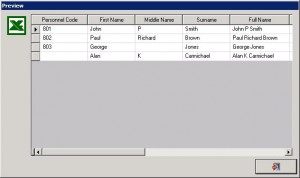
Click Next. You will then see a preview of the data that will be imported.
Check that you have mapped the correct columns, then close this window.
Step 6: Do the Import
Click Next to start the import
Spreadsheet Rules
The wizard gives you a great deal of flexibility, but your spreadsheet must follow a few simple rule:
1. Currently the wizard doesn’t support Excel 2007 or 2010. If you have a spreadsheet in that format then save it in 2000/2003 format before importing.
2. The first row must contain column headings. The wizard uses the contents of this row when displaying the column mappings.
3. The spreadsheet must contain 1 row for each record to be imported. For example, when importing personnel data a personnel record cannot be spread over several rows.
4. Every row must have the same format. If you have sub-headings and other text in the middle of your spreadsheet delete it before doing the import.
What can you Import?
Starting with the next release the Excel Import Wizard will be available on two screens:
1. Personnel
2. Job
Personnel import will allow you to import data from the ESR (Electronic Staff Record), while the job import will allow you to automatically create jobs from a spreadsheet containing a list of assets and PPM dates. This type of spreadsheet is very commonly created by external contractors after PPM visits.

